You are about to join a live event, demo/sound-check or a recording as a host/speaker/panellist/musician!
Please take a couple of minutes to read this whole page… It may seem a bit scary but if you’ve ever used Zoom, you’ll probably find many similarities.
BEFORE THE BROADCAST
MAKE SURE YOU HAVE THE FOLLOWING:
• A laptop or desktop with a webcam and mic.
• A recent version of a browser such as Chrome or Firefox.
• A strong internet connection – just like Zoom and Skype etc, you need a decent internet connection for this to work well (you don’t need monster speeds though!)
• If you can connect an ethernet cable from your router to the device you are joining on (rather than using WiFi), you will harness your broadband signal in a much more reliable and consistent way.
• We recommend wearing headphones to prevent audio echoes or unpleasant audio feedback (wired headphones work better than wireless).
If you don’t have a laptop or desktop, then you can join on your phone. But the experience is usually best on a laptop/desktop.
On Windows, Mac and Android, we recommend the Chrome browser. On iOS (Apple), you must use the inbuilt browser – Safari.
TIPS FOR SPEAKERS
• Please wear headphones to reduce the chance of echoes or unpleasant audio feedback.
• If using a phone/tablet, is it in landscape mode?
• Is your camera at eye-level?
• Remember to look directly at the camera when you are live.
• Are your computer and phone notifications off?
• Are you lit evenly from the front?
JOINING THE BROADCAST
Follow these steps to enter the broadcast studio:
1. Links for forthcoming livestream shows, demos (sound-checks) and recordings are all at the BOTTOM OF THIS PAGE.
2. Click the correct button/link for your event (indicated by the event title and date) and you’ll be taken to the online studio for that event.
3. You may be asked to grant access to your mic and camera. Please click ‘Allow’ (See image to the right hand side)
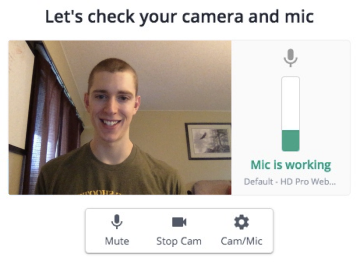
4. Make sure you have the correct camera and microphone selected – BEFORE clicking Enter Studio, Click Cam/Mic, then Camera first (to choose which camera) and Audio underneath that (to choose microphone and speaker). Sometimes there is only one option for each but sometimes you have more than one option available for camera and microphone.
5. Check that your microphone is working – the green gauge will move vertically up and down in response to your voice. (See image to the right hand side)
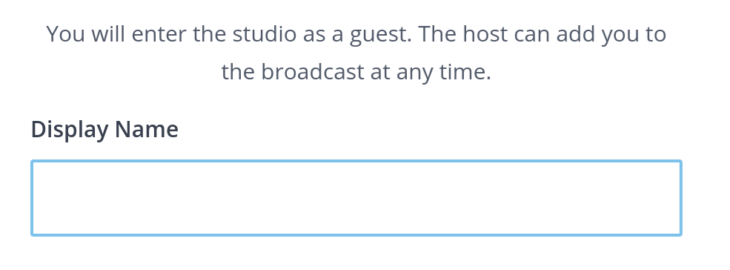
6. Type in your name, which may be displayed during the broadcast. (See image to the right hand side)
7. Click ‘Enter Studio’ and you will be brought into the virtual backstage area.
The host or ‘stage manager’ will be informed that you’ve arrived.
You’ll be able to see and hear the event from this backstage area but won’t be part of the broadcast until the host brings you on to the live main screen at any time (don’t worry though – the host will warn you first in the ‘Private Chat’ or will have already agreed a specific time and shared the event schedule with you.)
Look out for the ‘Private Chat’ which allows you to message the host and other backstage participants. (See image to the right hand side)
The host will be able to see your camera while you are backstage but nobody else will be able to see you and neither the host nor anybody else will be able to hear you if you are unmuted while in the backstage area.


PROBLEMS?
If you have trouble connecting with your laptop or desktop, please first try a different browser or then your mobile smartphone.
If you still can’t get in, you can email contact@thevoicecloud.co.uk for support, but we may not be available right away.
If you get knocked off the broadcast (either whilst backstage or live) because of technical issues or a broadband outage… DON’T PANIC! Just reconnect to the broadcast the same way you already did earlier.
CONNECTING WITH A SMARTPHONE OR TABLET?
MAKE SURE YOU DO THE FOLLOWING:
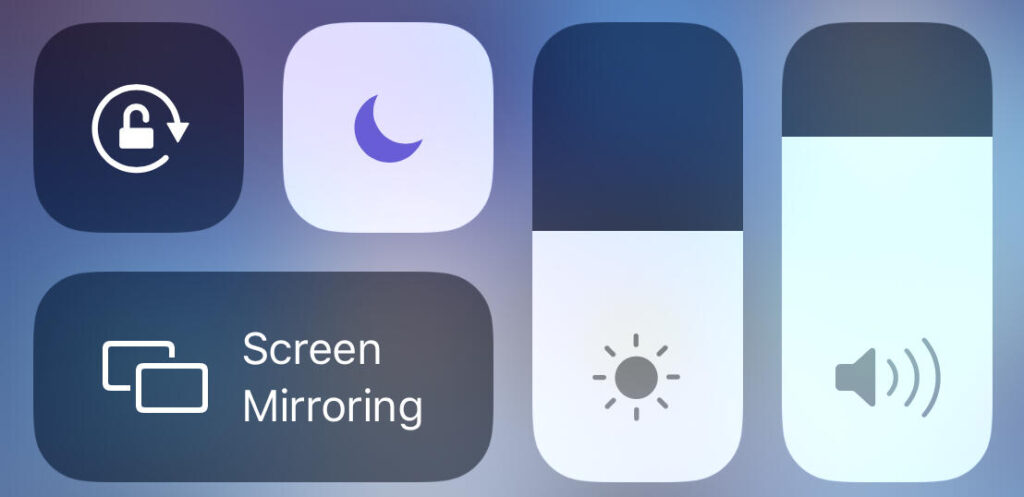
1. Activate the “Do Not Disturb” feature to keep other calls, texts and notifications from interrupting your interview. (Use the moon symbol on an iPhone, as seen in the image below. Android devices have a similar setting).
2. Choose whatever is stronger, a WiFi signal or your mobile data signal. If you have a weak WiFi signal, TURN OFF WiFi on your phone so that it doesn’t automatically connect or try to connect to the weak WiFi instead of using mobile data during the broadcast.
3. If possible, do NOT hand-hold your device during the broadcast. Place it in the LANDSCAPE (wide) position on a stable surface or in a holder or tri-pod if you have one.
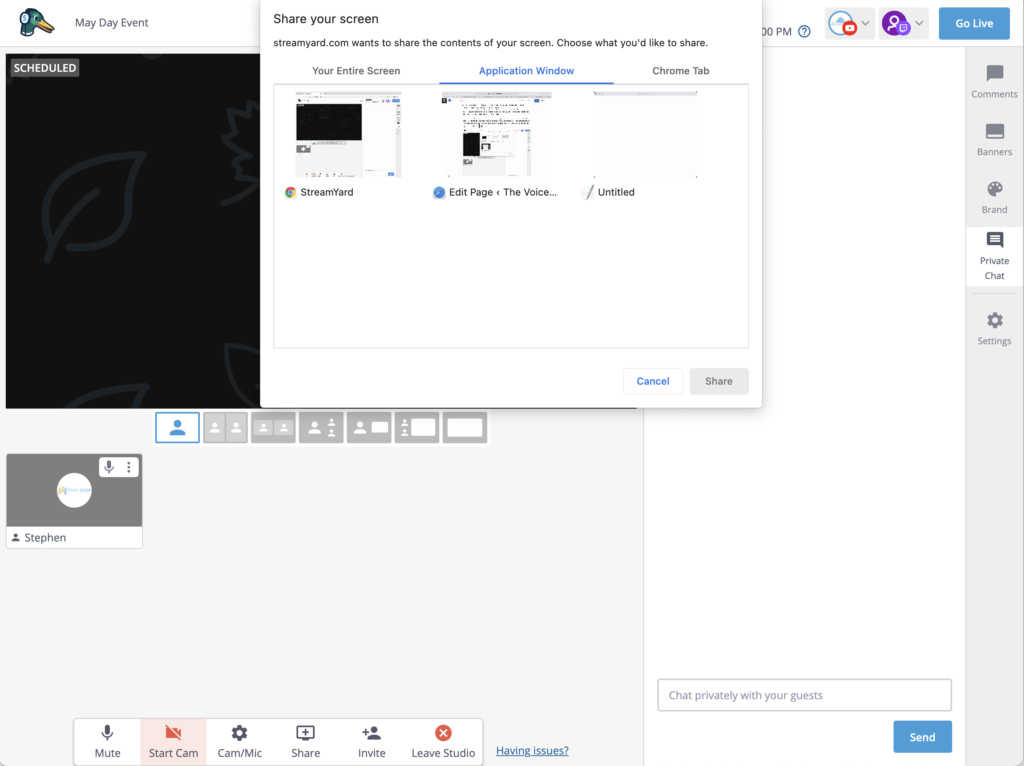
SHARE YOUR SCREEN
If you have agreed with the host that you will be sharing slides (Powerpoint or Keynote), a video or another browser from your screen:
1. Click ‘Share’ at the bottom of the screen (the icon is a TV with a + symbol inside it)
2. Then choose which element of your screen you would like to share:
• If a video – Choose ‘Video File’
• If a particular window or application – Choose ‘Share screen’, then choose ‘Application Window’, then click the application you want to share, then click the blue Share button.
• If a specific tab on your browser – Choose ‘Share screen’, then choose ‘Chrome Tab’, then choose the tab you want to share (make sure that the ‘Share audio’ box is ticked if you want any audio to be included), then click the blue Share button. (Only Chrome browser tabs can be shared) .
If you are in the backstage area you can practise doing this in preparation to make sure it works OK for later. Don’t worry – you won’t interrupt the live broadcast! You can ask the host if they can see your screen and they will only “enable” your screen on to the live broadcast when you want them to do so (in the same way they bring you in to the live session).